What are the Spacings for Timber Cladding?
.jpg)


News
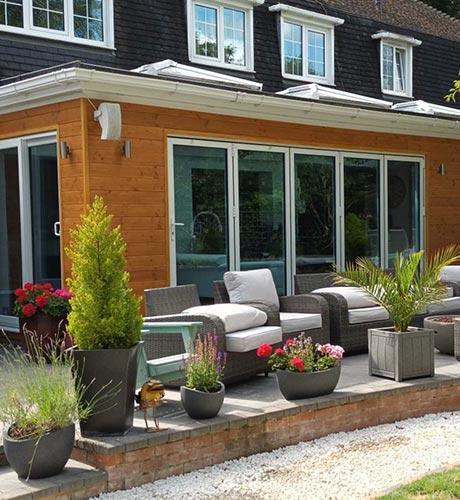
Getting Timber Cladding Spacing Right: Why Those Small Gaps Matter So Much
Getting Timber Cladding Spacing Right: Why Those Small Gaps Matter So Much
Here's a call we get regularly: someone's halfway through installing their cladding when they realise they haven't thought properly about spacing between boards. By then, it's usually too late to fix without starting over. After two decades of supplying cladding materials and seeing both spectacular successes and expensive failures, we've learned that those small gaps between boards can make or break a project.
The difference between timber cladding that looks professional and performs well versus installation that causes problems isn't usually the timber quality or even the fixing method. It's getting the spacing details right from the start.
Why Spacing Actually Controls Everything
Timber moves. That's not a design flaw – it's how natural materials respond to moisture and temperature changes. British weather provides plenty of both, sometimes within the same day. Proper spacing accommodates this movement without creating problems.
Get spacing wrong and you'll see boards buckling, splitting at fixings, or opening gaps that let weather in. We've been called to assess failed installations where the only problem was insufficient spacing allowance. Fixing these issues usually means stripping and reinstalling, which costs far more than getting it right initially.
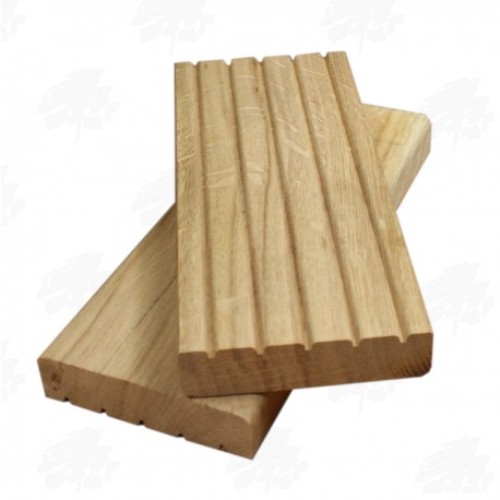
What Different Profiles Actually Need
Not all cladding profiles handle spacing the same way. The profile you choose determines both the spacing requirements and how forgiving the installation will be.
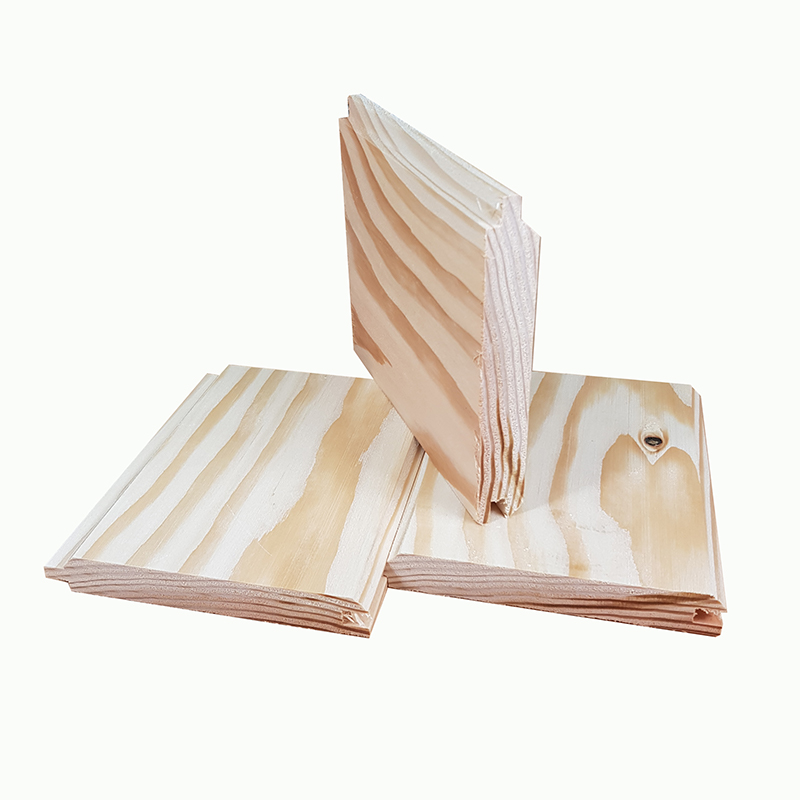
Featheredge and Overlap Boards
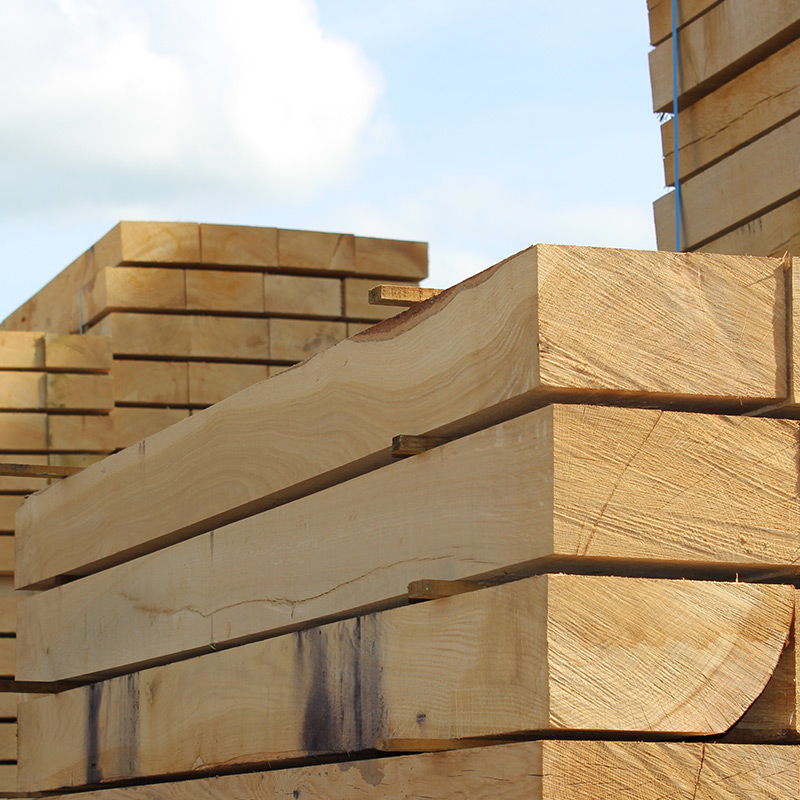
These traditional profiles rely on overlaps for weather protection, which means the spacing between board edges matters less than the overlap dimension. We typically recommend 5-7mm gaps at board ends to accommodate length-wise expansion.
The overlap itself needs to be consistent – usually 25-40mm depending on board width and exposure conditions. Too little overlap creates weather penetration points. Too much wastes material and can look heavy.
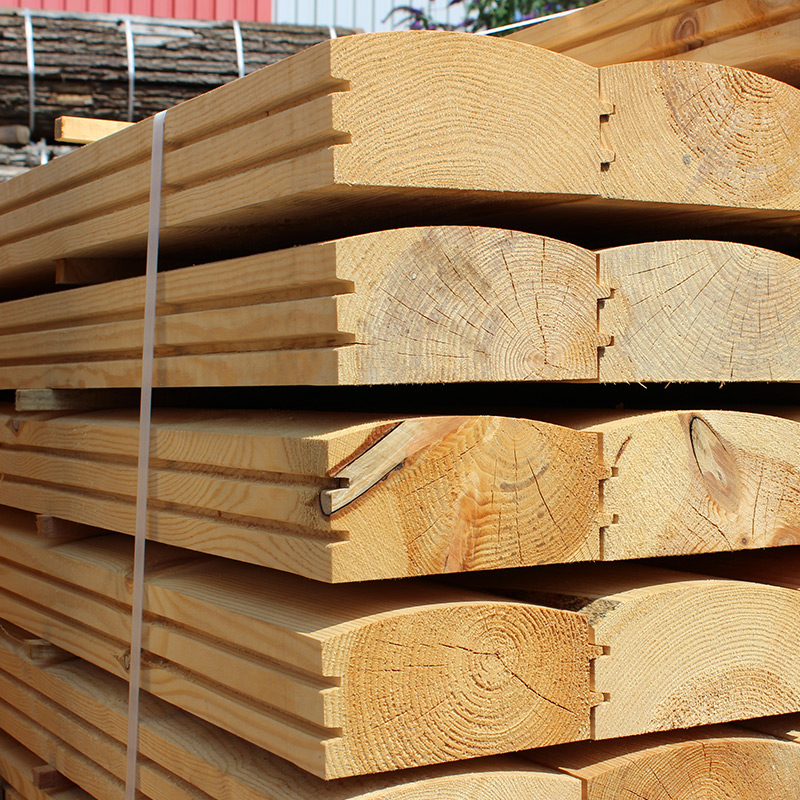
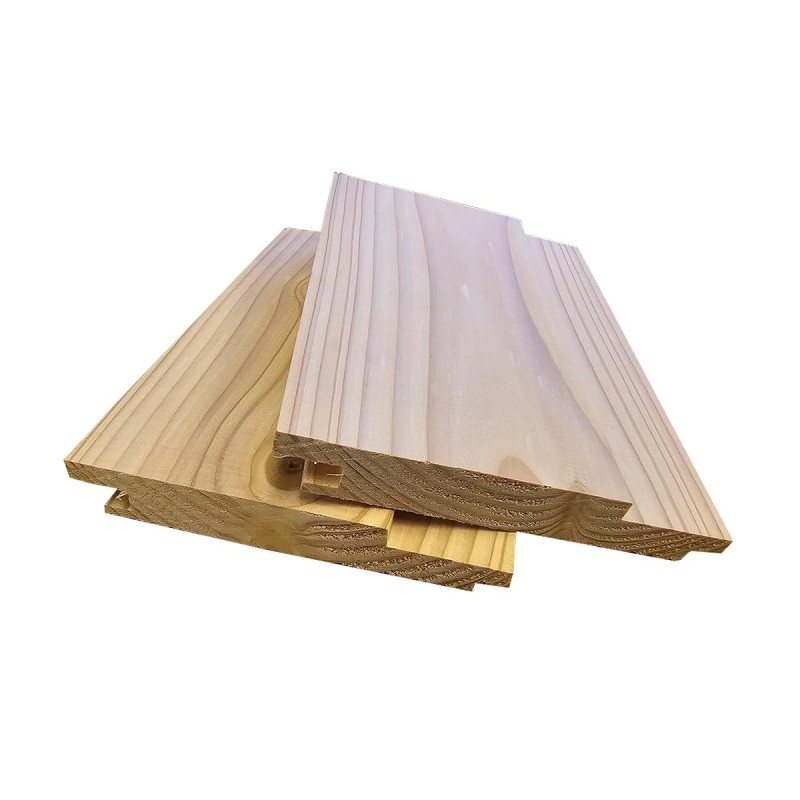
Shiplap Profiles
Shiplap's rebated edges create built-in spacing, but don't assume this eliminates expansion issues. The boards still need room to move length-wise, typically 3-5mm at the ends.
The rebate design means you can't adjust spacing much during installation. If your building isn't perfectly square or your boards aren't perfectly straight, shiplap will show every imperfection. This is why we always recommend careful measurement and preparation before starting shiplap installations.
Board-on-Board Systems
These require more generous spacing – typically 5-8mm between board edges – because there's no overlap to accommodate movement. The gaps also provide the ventilation that prevents moisture buildup behind the cladding.
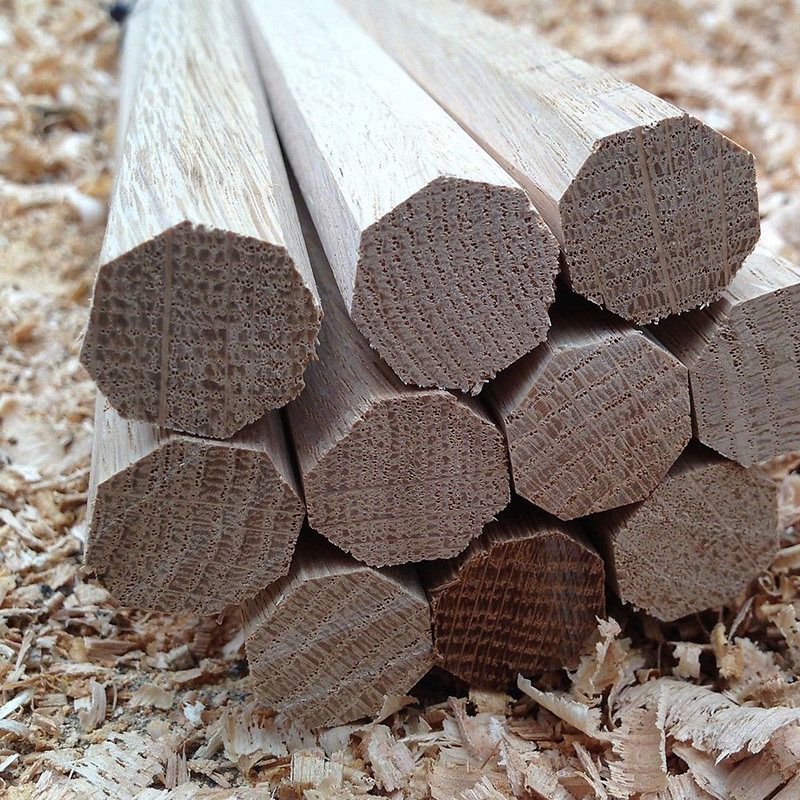
Species Behaviour: Why Timber Choice Affects Spacing
Different timber species move differently, which affects your spacing strategy significantly.
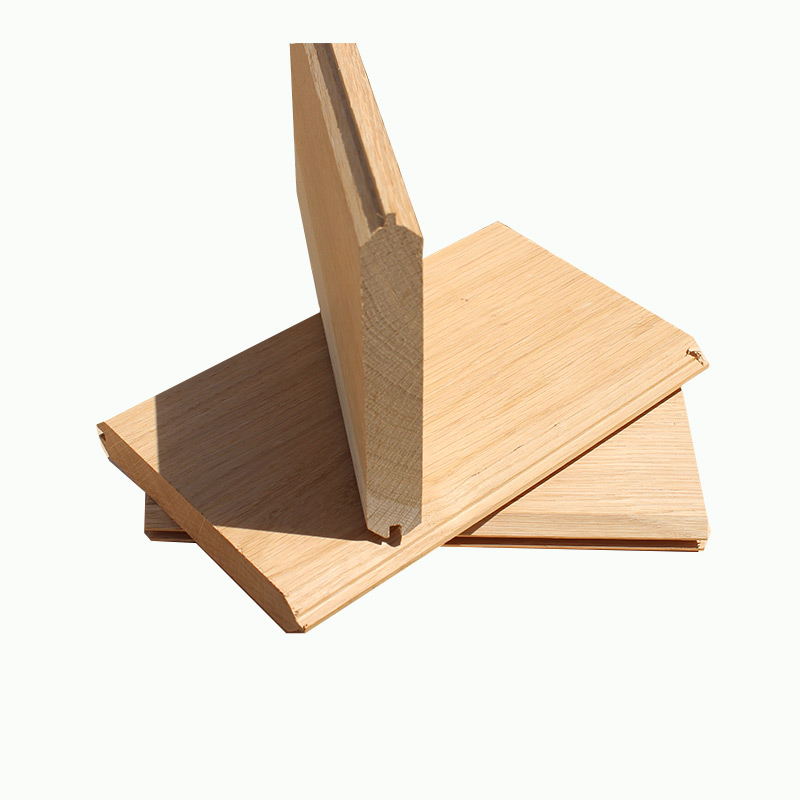
Oak: Minimal Movement, Maximum Forgiveness
Oak's stability means you can use tighter spacings without buckling problems. We've seen oak installations with 3mm spacings that have performed well for years. The dense grain structure resists warping and the natural tannins provide weather resistance that protects the timber during movement cycles.
Larch: Predictable Performance
British larch moves moderately and predictably. Standard 4-5mm spacings work well in most applications. The natural resin content helps stabilize the timber, and the movement patterns are consistent enough that you can plan for them reliably.
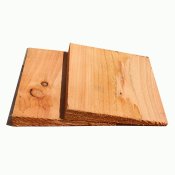
Softwoods: More Room Required
Pressure-treated softwoods generally need more generous spacing – 5-7mm typically works well. The treatment process can affect stability, and the faster growth creates less dense grain that moves more readily with moisture changes.
Pine and spruce can be particularly variable. We always recommend acclimatizing softwood cladding on site for several days before installation to minimize post-installation movement.
Critical Details That Most People Miss
Ground Clearance: The 150mm Rule
Keep cladding at least 150mm above ground level. This isn't negotiable – it's essential for preventing moisture wicking and splash-back damage. We've seen installations fail within years because this clearance was ignored.
The gap also needs proper detailing. Simply stopping the cladding 150mm up leaves an ugly raw edge. Plan for trim boards, render stops, or other architectural details that make the transition look intentional.
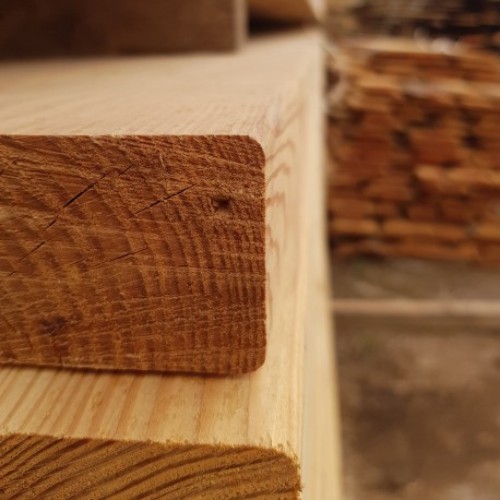
End-of-Board Treatments
Board ends are particularly vulnerable to moisture penetration. Seal cut ends with appropriate primer or end-grain sealer before installation. This is especially important with softwoods where untreated end grain can absorb moisture rapidly.
Where boards butt together, maintain your standard spacing gap and seal the joint appropriately. Don't try to close gaps tightly – this just creates stress points where splits often start.
Top Edge Protection
Protect the top edge of your cladding with adequate roof overhangs or purpose-designed capping. Rain running down cladding isn't a problem, but standing water on top edges creates rot risks quickly.
If roof overhangs are insufficient, install flashing or capping boards that shed water clear of the cladding face. This detail often gets overlooked during design but becomes critical during the first winter storms.
Installation Techniques That Ensure Consistency
Using Spacers Effectively
Cut consistent spacer blocks from offcut material. Having dozens of identical spacers ensures uniform gaps throughout the installation. Plastic spacers work too, but timber offcuts cost nothing and can be left in place if needed.
Don't rely on eye-balling gaps – even experienced installers struggle to maintain consistency without physical spacers, especially on large elevations where small variations become obvious.
Dealing with Building Irregularities
Most buildings aren't perfectly square or plumb. Plan your spacing strategy to accommodate this reality rather than fighting it.
Starting with a level datum line helps maintain consistent reveals even when the building structure varies. Sometimes it's better to vary board courses slightly rather than creating obviously tapered gaps that draw attention to building imperfections.
Climate and Exposure Considerations
High-Exposure Locations
Coastal and upland sites see more extreme weather cycles, which means more timber movement. Consider slightly more generous spacing in these locations – an extra millimetre or two prevents problems without affecting appearance noticeably.
Wind loading also increases in exposed locations. Ensure your fixing strategy accounts for this, as higher loads can cause splitting if spacings are too tight.
Sheltered vs. Exposed Elevations
South-facing elevations see more UV exposure and temperature cycling, which affects movement patterns. Consider this when planning spacing, especially with softwood species that respond more dramatically to temperature changes.
When Spacing Goes Wrong: What We've Seen
A project in Yorkshire failed because the installer used identical spacing for both oak and pine boards within the same installation. The pine boards buckled during the first hot summer while the oak remained stable. Consistent spacing across different species doesn't work when the species have different movement characteristics.
Another installation in Cornwall had adequate board spacing but ignored ground clearance requirements. Salt-laden moisture wicked up from the ground, causing rot issues within three years. The cladding itself was sound, but the detail failure caused expensive remedial work.
Maintenance and Long-Term Performance
Properly spaced cladding requires minimal maintenance beyond normal cleaning and inspection. The gaps allow natural ventilation that prevents moisture accumulation while accommodating movement without stress.
Check fixings annually, especially after severe weather. Timber movement can loosen fixings over time, and catching loose boards early prevents cascade failures where one loose board affects its neighbours.
The Bottom Line
Allow adequate gaps for your timber species and exposure conditions. Use consistent spacers during installation. Protect vulnerable areas like board ends and top edges. Plan for ground clearance from the design stage.
Most importantly, understand that spacing requirements aren't universal – they depend on your specific combination of timber species, profile choice, and local conditions. When in doubt, err slightly on the generous side rather than risking buckling or splitting problems.
Planning a cladding installation? Our team has decades of experience helping customers avoid spacing problems before they start. Call us on 01536 267107 for specific advice on your project, or browse our complete range of cladding materials online.
Click to View Our Range of Timber Cladding Below
or send us an email at
sales@uksleepers.co.uk.


